A blank wall is a missed opportunity. A family photo wall transforms bare spaces into visual stories that spark conversations and warm the heart. If you’ve been staring at your wall and thinking, “How do I make it stand out?” you’re in the right place. No cookie-cutter ideas here—only creative layouts that will make your space pop with personality.
Key Points
- Use unique arrangements to create focal points.
- Incorporate textures, materials, and unexpected accents.
- Mix and match styles for a personalized vibe.
- Don’t forget lighting to enhance the display.
1. Start with a Statement Piece
Your wall deserves a highlight—a central piece that draws attention. A large family portrait sets the tone for the entire wall. Opt for a professionally drawn masterpiece for an elegant touch. A custom artwork, like one from Families Portrait, can be a stunning addition.
- Use a pencil sketch of your favorite family moment.
- Commission a vibrant color portrait for a modern look.
- Frame a piece of digital art for a contemporary feel.
Pro Tip: Keep the statement piece eye-level for maximum impact.
2. Create a Grid for Clean Lines

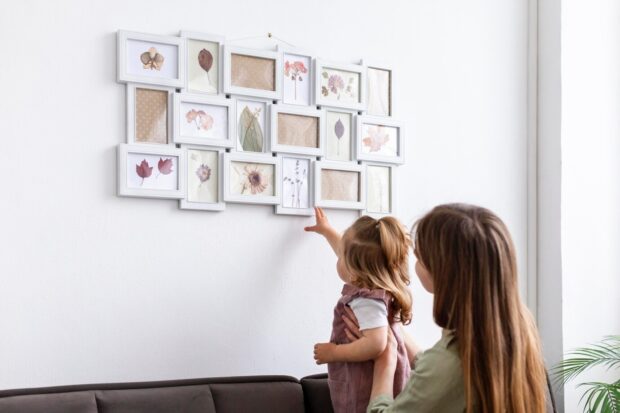
Grids work well if you enjoy a neat, structured look. Frames of identical sizes, spaced evenly, provide a clean aesthetic. Use black-and-white prints for a cohesive feel or a mix of colors for a dynamic effect. This approach suits modern interiors and prevents visual clutter. Add a thin metal frame or wood for contrast.
Key Benefits of Grid Layouts
- Easy to plan and execute.
- Symmetrical and visually appealing.
- Ideal for showcasing a large collection of memories.
Pro Tip: Measure and mark before hanging to keep spacing consistent.
3. Mix Shapes and Frame Styles
Who says every frame needs to be rectangular? Combine squares, circles, and even hexagons to break monotony. Pair ornate, vintage frames with sleek modern ones for contrast. The variation draws the eye, making every detail interesting. Keep the arrangement loose to avoid looking forced.
Tips for Mixing Frames
- Choose a theme, such as rustic or eclectic.
- Use a consistent color palette for balance.
- Anchor the layout with one or two larger pieces.
Practical Example: Combine a large circular mirror with square and oval frames to create a chic gallery effect.
4. Incorporate Shelves for Depth
Floating shelves are perfect for blending photos with decorative items. Stack books, small potted plants, or candles alongside your pictures to create a curated display. This layered approach gives depth and personality to your wall.
Recommendations
- Use shelves of varying lengths for a more dynamic look.
- Pair framed pictures with small sculptures or collectibles.
- Opt for wooden or metal shelves to match your room’s theme.
Pro Tip: Keep a balance between pictures and decorative items to avoid overcrowding.
5. Add Words or Quotes
Incorporate wooden or metal letter cutouts with words like “Home” or “Love.” Pair them with your pictures to add a warm touch. Combine fonts for variety but keep the tones cohesive. Let the quotes narrate your story and complement your visuals.
Practical Examples
- Display “Our Journey” in cursive next to travel photos.
- Use “Family First” above portraits for a heartfelt message.
- Add seasonal quotes like “Joy” or “Grateful” for festive vibes.
6. Play with Textures
Go beyond flat surfaces. Mix materials like canvas, metal, or acrylic for a tactile display. Textures add dimension and keep your wall visually engaging. Combine soft matte finishes with shiny glass to create balance. Using a textured backdrop, such as shiplap or wallpaper, amplifies the effect.
Texture Ideas
- Canvas wraps for a soft, warm feel.
- Acrylic blocks for a modern edge.
- Wood panels for a rustic vibe.
Pro Tip: Add a woven wall hanging or macramé piece for extra texture.
7. Use Asymmetry for Drama

Symmetry feels predictable. Asymmetrical layouts, on the other hand, create intrigue. Cluster pictures in varying sizes and leave intentional gaps. This arrangement mimics the flow of an art gallery while maintaining a casual, inviting atmosphere.
Key Benefits of Asymmetry
- Allows for flexibility in adding new items later.
- Perfect for creating a dynamic, artistic vibe.
- Great for mixing photos with decor pieces.
Practical Example: Place a large frame slightly off-center and surround it with smaller ones in a loose arrangement.
8. Incorporate Personal Elements
Your wall should reflect your personality. Add souvenirs, vintage keys, or heirloom pieces. A mix of meaningful items makes the display unique. This approach ensures that your wall doesn’t look like it came straight out of a catalog.
Ideas for Personal Touches
- Postcards from trips.
- Handwritten notes or letters.
- Children’s artwork or crafts.
Pro Tip: Rotate items occasionally to keep the wall feeling fresh and current.
9. Use Mirrors Strategically
Small mirrors mixed with your pictures brighten up spaces by reflecting light. Choose ornate mirrors for a classic feel or minimal designs for modern spaces. They also make rooms feel larger. Use mirrors sparingly to complement, not overpower, your wall.
Recommendations
- Place mirrors near windows to enhance natural light.
- Use round mirrors for a softer aesthetic.
- Combine mirrors with metallic frames for added elegance.
Practical Example: Place a small, circular mirror in the center of a gallery wall to anchor the design.
10. Integrate Lighting
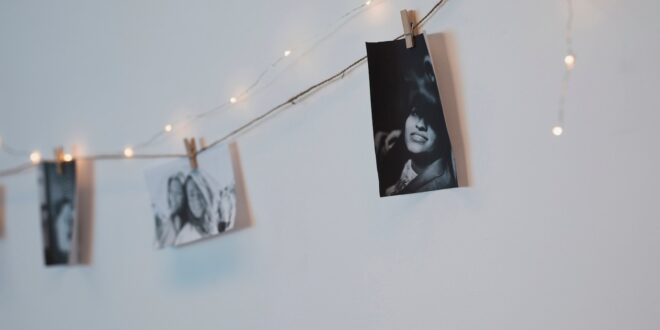
Good lighting elevates everything. Use spotlights, sconces, or fairy lights to highlight key pieces. Warm-toned bulbs create a cozy ambiance, while LED strips offer modern flair. Adjust the brightness to match your room’s mood.
Lighting Options
- LED strips for edges.
- Adjustable sconces for highlights.
- Fairy lights for a whimsical touch.
Pro Tip: Ensure the lighting doesn’t create glare on the frames, as it can obscure the pictures.
11. Go Full Wall
Make your photo wall the centerpiece by dedicating an entire wall to it. A full-wall display turns every inch into a gallery. Start with the largest piece in the middle, then add smaller ones around it. Incorporate all the techniques mentioned earlier for variety.
Key Benefits
- Maximizes wall space.
- Creates an immersive visual experience.
- Allows for a mix of styles and textures.
Practical Example: Use a combination of large canvas prints, small framed pictures, and decorative items for a cohesive yet varied look.
12. Create a Seasonal Twist

Add temporary elements like wreaths, garlands, or themed decor to align your wall with seasons. Swapping elements for holidays keeps the wall fresh without overhauling the layout. This playful approach keeps your design dynamic.
Ideas for Seasonal Touches
- Spring: Add floral garlands and pastel-colored frames.
- Summer: Incorporate seashells and beach-themed accents.
- Winter: Use pine wreaths and warm, cozy lighting.
Pro Tip: Use removable hooks or adhesives for seasonal decor to prevent damage to the wall.
Conclusion
A family photo wall shouldn’t be boring. By mixing textures, using creative layouts, and adding personal touches, you can create a display that reflects your story. Whether it’s a statement piece or a mix of frames, each element should feel intentional and heartfelt. Start with one idea and watch your wall transform into a masterpiece.
 Jewel Beat

