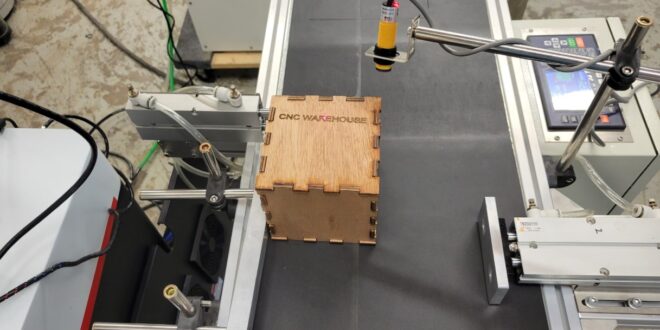
The 4-axis CNC router has opened new horizons in precision machining, adding a rotary axis that enables complex, multi-dimensional designs.
If you’re preparing to set up your 4-axis CNC router, follow this step-by-step guide to get it running smoothly and avoid common setup issues.
With some attention to detail and patience, you’ll have your machine calibrated, programmed, and ready for exciting projects in no time.
Step 1 ─ Prepare the Workspace
Before you unbox your 4-axis CNC router, ensure your workspace is prepared for this new addition. CNC routers require space—not only for the machine itself but also for your movements around it. Make sure your area is well-ventilated, as these machines can produce significant dust and debris. Proper dust extraction or a dust collector is a wise investment.
Lastly, always prioritize safety. To stay safe while you work, equip yourself with goggles, gloves, ear protection, and even a mask. Setting up a CNC router may take hours, so having a comfortable, secure area to work is essential.
Step 2 ─ Unpack and Inspect Your Equipment
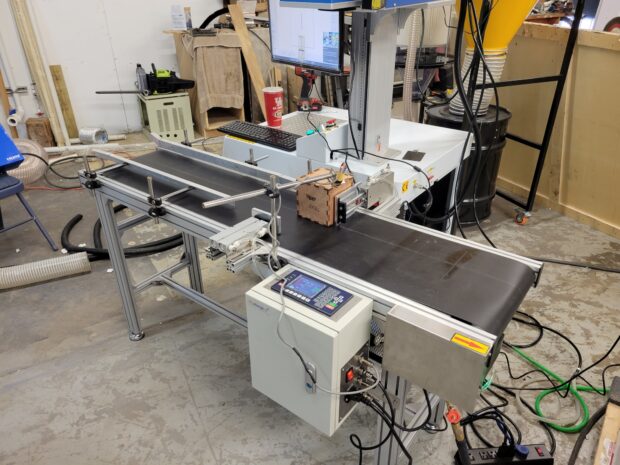
Carefully unpack your 4-axis CNC router and ensure all components are included. Use the manual to verify each part. Once unpacked, inspect each piece for any possible shipping damage—this step will help avoid future issues.
The main components to check include:
- The router spindle
- The gantry (the part that moves horizontally)
- The controller (the “brain” of the CNC router)
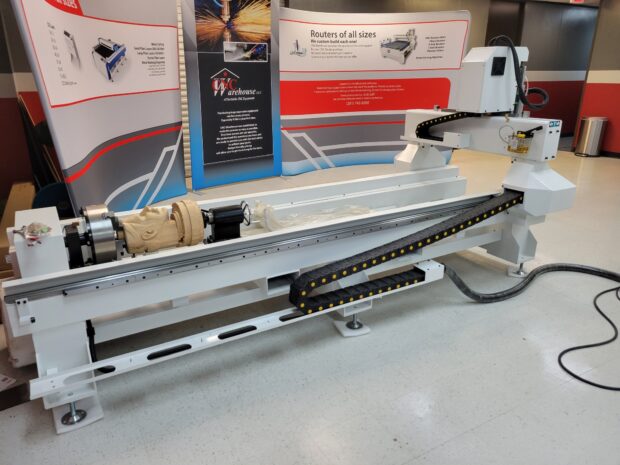
- The rotary or A-axis that sets your router apart as a 4-axis machine
By double-checking these parts now, you’re less likely to run into trouble during assembly.
Step 3 ─ Assemble the CNC Router
Now comes the physical setup. Begin by attaching the router to the base and securing the gantry as outlined in the manual. Keep all tools close, as assembling the router involves multiple pieces and sometimes small parts. Ensure each part aligns correctly; a misaligned frame or gantry will affect your router’s precision.
Follow the manufacturer’s guide closely, as different 4-axis CNC router models may have unique assembly steps. The correct assembly now will save you troubleshooting later on.
Step 4 ─ Set Up the Rotary Axis
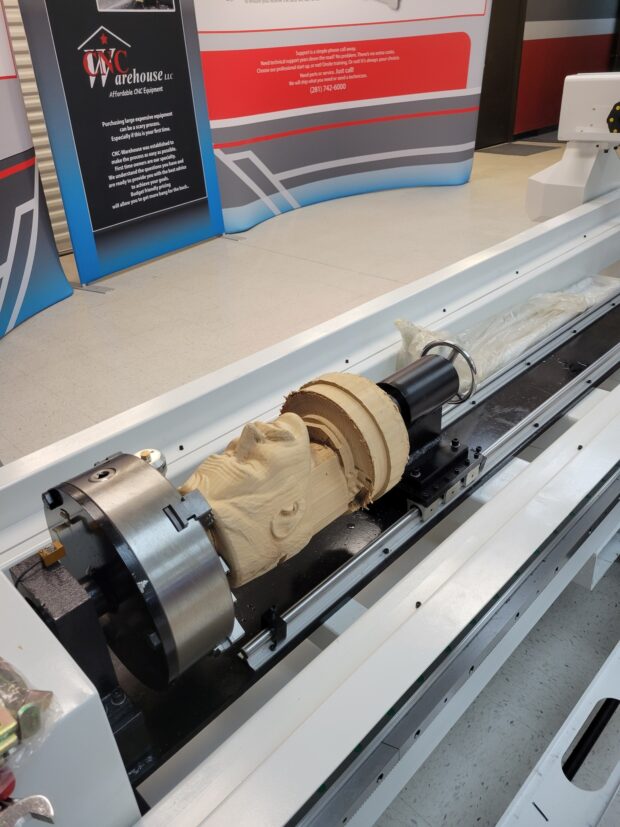
The unique feature of a 4-axis CNC router is its rotary axis, which allows for intricate designs and rotating cuts. Installing this component correctly is crucial for maximizing your machine’s potential. Attach the rotary axis according to the manufacturer’s instructions and make sure it’s securely mounted and properly aligned.
Once the rotary axis is installed, verify that it has full, unobstructed movement without interfering with other parts. Check your model’s manual for any specific rotary axis settings or calibration details—small adjustments here can greatly improve cut precision.
Step 5 ─ Install the CNC Control Software
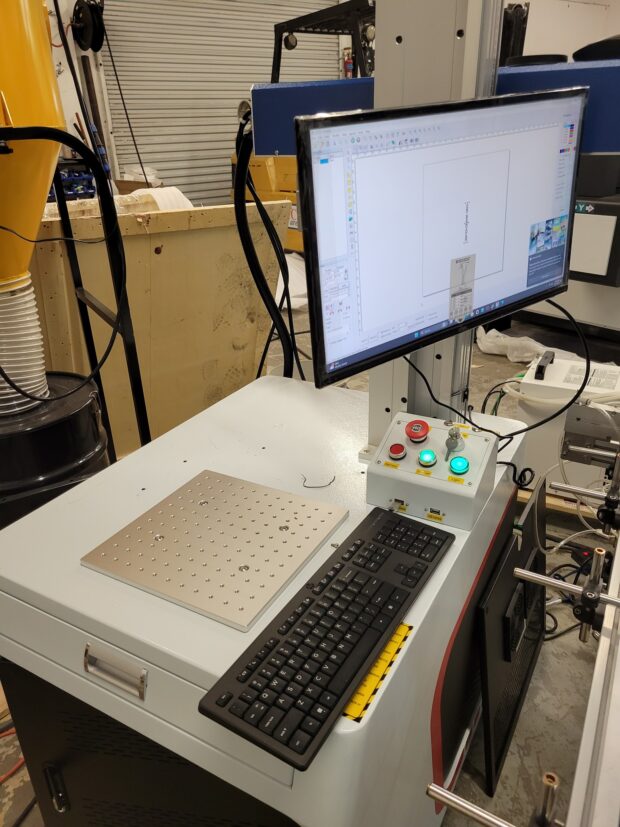
Your CNC control software is where you will command your machine, so choosing compatible software is essential. Common choices include Mach3, GRBL, and Fusion 360. After selecting the software, follow these steps:
- Install the software on your computer.
- Connect your CNC router to your computer via USB, Ethernet, or as specified.
- Configure the software settings, paying special attention to the rotary axis setup, as the 4-axis requires settings beyond those of a standard 3-axis machine.
Most CNC software will guide you through the installation, but make sure you customize settings to match your machine’s unique capabilities.
Step 6 ─ Calibrate the 4-Axis CNC Router
Calibration is a critical step to ensure your 4-axis CNC router functions accurately. Calibrate each axis individually—X, Y, Z, and the A-axis (rotary). This will set a consistent zeroing point, helping your machine “know” where to begin each job. Check for any errors in positioning, as even minor discrepancies can impact your results.
After initial calibration, run a test to check alignment. Adjust each axis’ limits to ensure it operates within safe boundaries without overreaching or stalling.
Step 7 ─ Set Up Work Holding Fixtures
Work holding fixtures are essential to keeping your material steady during cuts. Given your machine’s rotary axis, a solid grip is crucial to prevent material shifting, especially with complex cuts. Common options include clamps, vises, and vacuum tables, each of which stabilizes your workpiece during operation.
Choose a work holding solution that offers stability without interfering with the rotary axis. Proper work holding will allow for clean, precise cuts and reduce the risk of errors.
Step 8 ─ Load and Secure Tooling
Choosing and securing the right tools is another vital part of the setup. Consider what materials you’ll be working with—wood, metal, or plastic—and select suitable cutting tools. Sharp, high-quality tools will yield the best results and prevent wear on your machine.
After selecting the tool, secure it firmly in the spindle. Ensure it’s tightened according to the manufacturer’s recommendations. Avoid over-tightening, which could damage your tool, but make sure it’s secure enough to handle any job without slipping.
Step 9 ─ Program Your First Design
With your machine ready, it’s time to program your first design. Software like Autodesk or VCarve supports 4-axis designs and can help you create or import files. As a beginner, start with simpler designs to get comfortable with the machine’s movements.
Ensure your software settings are configured for 4-axis work, and double-check the dimensions. Breaking down designs into manageable parts can help minimize errors as you learn the machine’s capabilities.
Step 10 ─ Run a Test Cut
Running a test cut is essential to ensuring everything is set up properly. Start with a soft material and a simple shape to verify that all components—especially the rotary axis—are functioning correctly.
A test run confirms that each axis is calibrated, your tooling is secure, and your work holding is stable. Note any issues, such as rough edges or misalignment, and adjust settings like feed rate, spindle speed, or axis limits.
Step 11 ─ Fine-Tune and Adjust Settings
Once your test cut is complete, assess the results. If you notice any issues, fine-tune the settings. Common adjustments include:
- Feed rates – Slow down if cuts are rough or imprecise.
- Spindle speed – Lower speeds may be required for intricate designs.
- Axis limits – Adjust limits to ensure each axis moves freely without overreach.
Fine-tuning your setup at this stage ensures more accurate cuts, especially for detailed projects that require high precision.
Step 12 ─ Start Your First Project
With everything in place, it’s time to start your first real project. Choose a beginner-friendly design that won’t be too time-intensive or complex, letting you get familiar with the 4-axis CNC router in action.
As you work through your project, stay focused and observe each step to gain confidence in managing the machine. Keep notes on what settings worked best and any challenges you encounter, as these will help in future projects.
Maintenance Tips for Longevity
Regular maintenance keeps your 4-axis CNC router operating smoothly and extends its life. Key maintenance tasks include:
- Cleaning dust and debris – A buildup can impact movement precision.
- Lubricating moving parts – Prevents wear and tear.
- Inspecting bolts and connections – Keeps parts securely fastened.
The rotary axis may require more frequent maintenance, as it often takes on added strain during complex cuts.
Troubleshooting ─ Common Issues
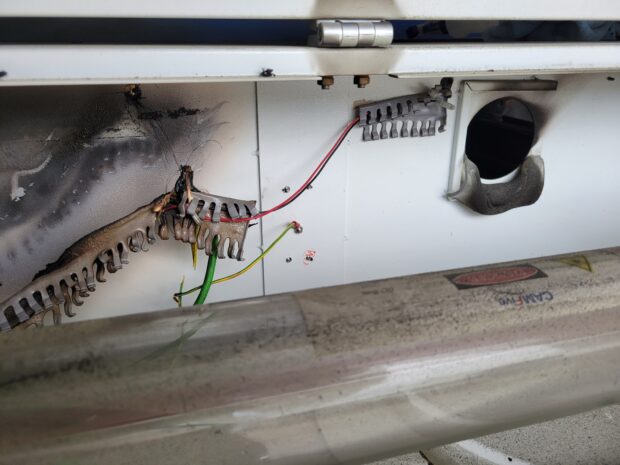
Like any machine, CNC routers can run into issues. Common problems include misalignment, software errors, and vibration during cuts. Here are quick solutions:
- Misalignment – Recalibrate and verify axis zero points.
- Software errors – Reboot or re-install your control software.
- Vibration – Check for loose parts, especially around the gantry and rotary axis.
If problems persist, don’t hesitate to contact technical support, especially for rotary axis issues specific to 4-axis configurations.
Conclusion
Setting up a 4-axis CNC router might seem like a big task, but following each step carefully ensures a successful setup and helps you avoid common pitfalls. With patience and practice, you’ll soon be creating intricate, precise projects.
The possibilities with a 4-axis CNC router are vast, and by starting with the basics, you’ll build skills and confidence in your new machine. Now that your 4-axis CNC router is ready, dive into your first project and explore all it has to offer!
 Jewel Beat
